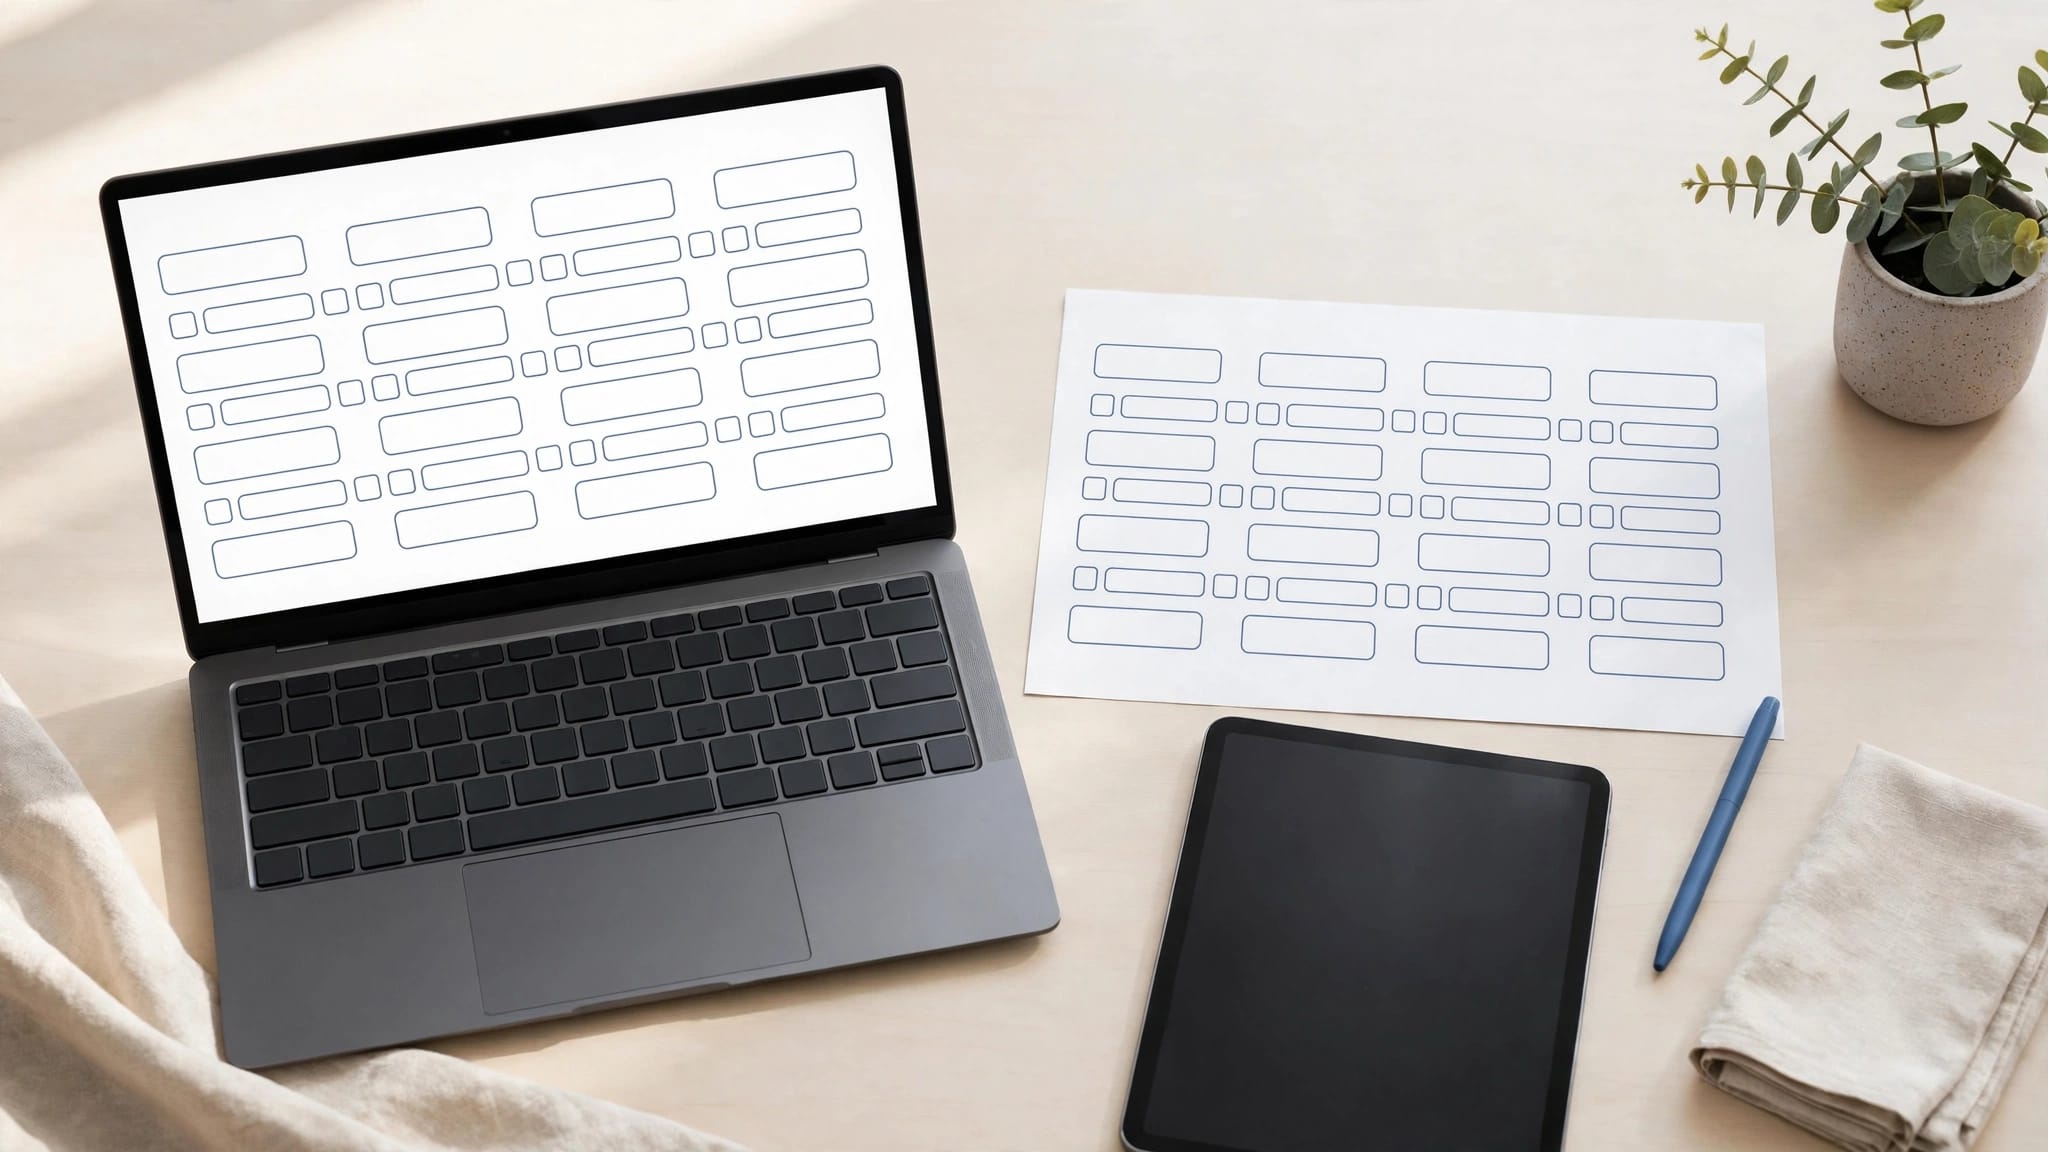
To create a fillable PDF workbook, convert your design to a PDF, then add interactive fields in Adobe Acrobat or PDFescape. Your buyers can type answers, select options, and save their own completed copy.
The difference between a static download and a useful workbook is working form fields, plus instructions that prevent lost answers. Start with a clear layout, then build and test the interactive PDF experience your buyers will receive.
Key Takeaways
- Design the pages first, then add interactive fields in a PDF editor.
- Give text fields unique names, but share one name across each radio button group.
- Test saving, reopening, keyboard navigation, and mobile use before selling.
- Deliver a clean master PDF with clear download and saving instructions.
1. Prepare Your Workbook Design
Choose one useful outcome
Decide what buyers should accomplish before adding pages. A workbook should guide action, rather than collect loosely related prompts.
Start with a short version that delivers that outcome. Our guide to testing digital product demand explains why purchases and signups reveal more than compliments about a mockup.
If you’re adapting PLR, rewrite the instructions and exercises for your audience. Adding fields alone won’t make generic content more relevant.
Leave room for real answers
Design your pages in Canva or Word, leaving generous answer areas. Keep decorative AI art away from writing spaces and use readable fonts with strong contrast.
In Canva, choose Share > Download > PDF Standard. In Word, save as PDF. Neither export automatically guarantees interactive fields.
Keep your editable source file separate. Finish page order and spacing before adding fields, because later layout changes can leave boxes misaligned.

Need art for the cover and pages? AI art works well for workbook covers, dividers and spot illustrations. Here’s how to make AI art with a clear purpose so every image fits the product.
Free: the AI Art Starter Pack
Want art to practice with? Grab a free pack of AI art images you can use to make your first printable, template or freebie, no prompting required.
2. Create a Fillable PDF Workbook in Adobe Acrobat
Acrobat’s form-authoring tools offer more control than a basic free editor. Buyers can complete standard fields in free Acrobat Reader; they don’t need your editing subscription.
Adobe’s document-conversion guidance describes automatic recognition of static fields in digital documents and scanned paper forms.
Follow this workflow to create a fillable PDF form:
- Open your exported PDF in Acrobat.
- Click Tools > Prepare Form. In the newer interface, look under All tools > Prepare a form.
- Select your document and let Acrobat analyze it.
- Review every detected field. Delete incorrect boxes, adjust placement, and add missing text fields or selection controls.
- Open each field’s properties to set its name, appearance, tooltip, and behavior.
- Save the PDF. If you’re collecting responses, choose Distribute and select the collection method.
Automatic recognition is a starting point. Decorative lines and artwork can trigger unwanted fields, while large blank answer areas may need manual boxes.
Acrobat also supports calculations, data-validation rules, JavaScript validation, assigned button actions, and signature fields. Add these only when the exercise needs them. E-signature collection is a separate workflow from selling a reusable workbook.
3. Add Fields With Free PDFescape
Draw your text fields
The PDFescape online editor, also called PDF Escape, offers a free online route for basic form creation. Upload your PDF, then click Form Field > Text.
Move the plus-shaped cursor over an answer area and drag to draw the box. Resize it to fit inside the design’s margins without covering the question.
Choose the interactive form-field tool, rather than the ordinary Text tool. Ordinary text becomes page content; a form field gives buyers somewhere to type.
Configure long answers and checkboxes
Select the text field and open its settings wrench menu. Enable multi-line for paragraph answers, and keep Visible checked so buyers can see and interact with the field. Also leave read-only disabled.
Give long answers enough height. Scrolling text may remain stored while becoming difficult to review or print.
For a check box, choose the check, circle, diamond, or star appearance in the settings menu.
Older PDFescape tutorials report slower editing and boxes shifting after an interface update. After clicking Edit, inspect placement and move any displaced box back. Save progress regularly rather than waiting until every page is finished.
4. Label Fields and Set Navigation
Use predictable names and selection rules
Use visible question labels plus descriptive field names, such as p02_goal or p03_action. In Acrobat, add tooltips that describe the expected answer.
Give independent text fields unique names. Otherwise, typing into one may repeat the same answer elsewhere.
Radio buttons work differently: every button for one question must share the same group name, such as button seven. Give each option a different export value. Then selecting one clears the others, as PDFescape’s radio-button guidance describes.
Use checkboxes when buyers may select several answers. A list box displays choices in an open box; a drop down hides choices behind an arrow.
Add navigation and clean defaults
Link each table-of-contents entry to its destination page using the PDF editor’s link tool. Add return links on section pages if the workbook is long.
The PDF reader’s page-number control also lets buyers type a target page. An ordinary text form field won’t navigate unless you assign an action.
Set tab order to follow the page’s reading order. Before finishing, leave checkbox and radio options unselected, because selections can become saved defaults.
If you add a Reset button, label it clearly and limit it to intended fields.
5. Test the Saved Workbook Across Devices
Test a copy of the finished PDF, rather than your only master. Enter short and long answers, click every selection control, and follow each contents link.
Use Tab and Shift+Tab to move through fields. Then save, close the application, and reopen the saved file. Confirm that text and selections remain intact.
Test the desktop reader you recommend, plus a browser viewer and a mobile reader. Mobile keyboards and smaller screens can make narrow boxes frustrating. Don’t advertise universal compatibility based on one successful desktop test.
Inspect printing too. Text that scrolls inside a field may not all appear on paper.
A field can accept an answer successfully while hiding part of it in the printed workbook.
If boxes moved, return to the form editor and realign them. If answers repeat across pages, rename the affected fields.
Finally, remove every test answer and reopen the clean master. Your buyer should receive blank exercises, not leftover sample entries.
6. Use Google Slides for Classroom Worksheets
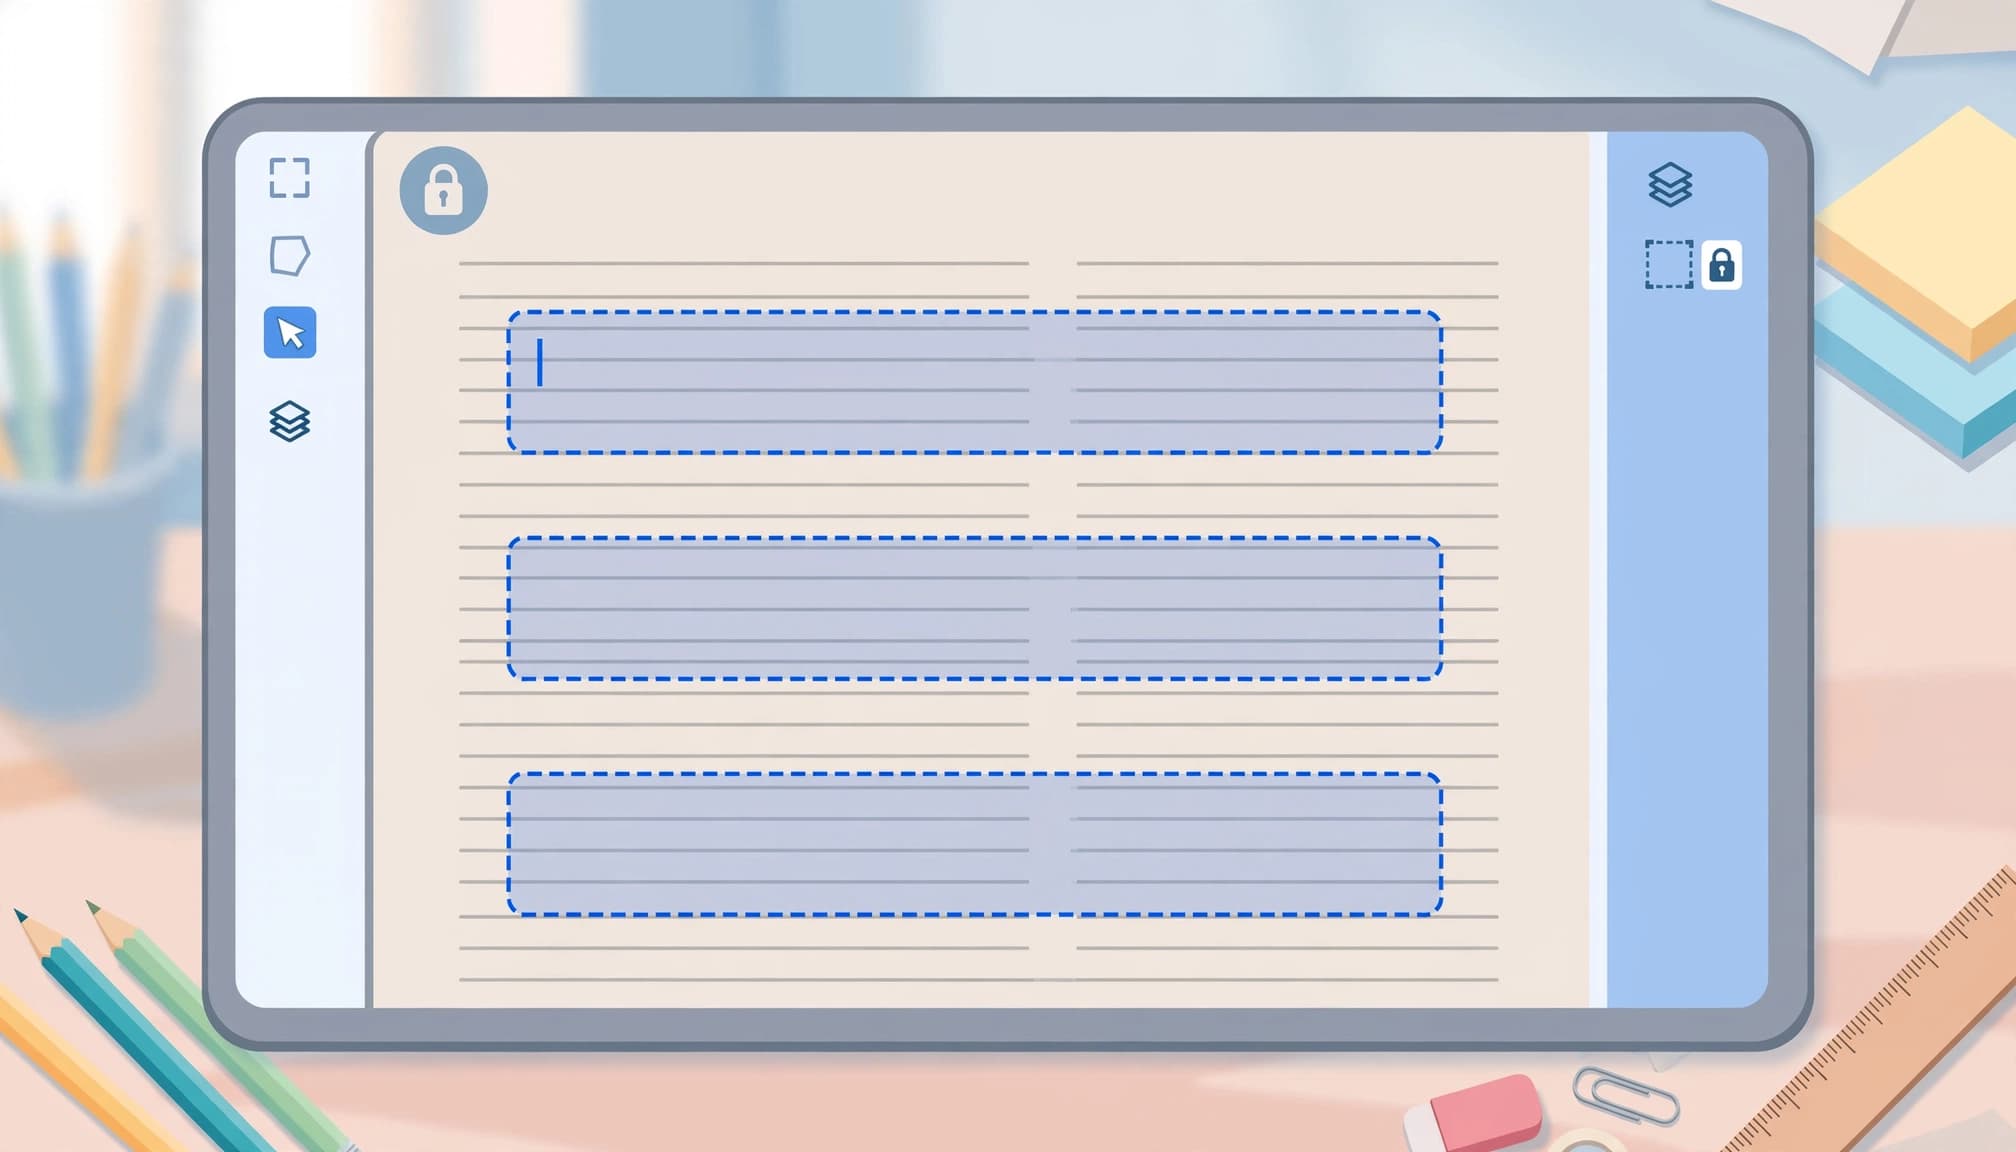
Google Slides is another option when students already work in Google Classroom. It creates an editable Slides worksheet, rather than a fillable PDF.
Set File > Page setup > Custom to 8.5 by 11 inches. Convert each scanned worksheet page to an image, then set it as the slide background.
Add a text box over each answer line. Students can type into those boxes without accidentally dragging the background image.
Attach the presentation to a Classroom assignment and choose Make a copy for each student. Each learner receives a separate working copy instead of editing a shared master.
7. Package and Deliver the Finished Product
Give buyers the right files
Deliver the tested fillable PDF and a short getting-started guide. Include a separate print-friendly version only if it offers a useful difference.
Use clear filenames, such as Workbook-Fillable.pdf and Start-Here.pdf. Avoid version names that leave buyers wondering which file to open.
For licensed content or artwork, retain the receipt and license with your production files. Permission to sell a finished PDF doesn’t automatically allow distribution of editable source files. Our PLR license guidance explains these distinctions.
Upload the package to your shop’s digital-delivery system, then run a test purchase to inspect the receipt and download experience.
Explain saving and returning copies
Tell buyers to download the PDF and open it in a desktop PDF reader, preferably Acrobat Reader, for the recommended saving workflow.
Use Save As to choose a folder and create a personal copy. Including the buyer’s name in the filename helps distinguish completed versions. Afterward, save regularly.
Some browser viewers can save basic forms, but previews and advanced features vary. Don’t promise that entering answers in a browser automatically preserves them.
If coaching clients must return their work, explain where to upload it. Acrobat’s response-management tools provide another collection option. A personal-use workbook doesn’t need automatic submission.
Keep learning
Make the workbook easy for everyone with accessible digital downloads, and if you’d rather sell an editable version, see how to build Canva templates buyers can edit. Looking for more easy product ideas? Watch 3 easy products to make with AI art:
Skip the blank page
The AI Art & Marketing Club gives you fresh art, a product plan and a marketing plan every month, so you always know what to make and how to sell it. Prefer to buy one pack at a time? The shop has themed art packs, prompt packs and bundles ready to customize.
Club and shop art can be used to create new finished products that you sell with commercial, PLR or MRR rights. The original images can’t be resold or given away as-is. Full license terms.
Frequently Asked Questions
Can I make a Canva workbook fillable without Acrobat?
Yes. Export the finished Canva design as a PDF, then add interactive fields in PDFescape’s free online editor. Text boxes placed inside Canva remain design elements after export; they aren’t automatically fillable PDF fields.
For a basic workbook, start with text fields and checkboxes. More complex calculations or validation rules may need Acrobat’s form-authoring tools.
Why do answers disappear after saving?
The buyer may have reopened the original download, saved an unfilled version, or used a viewer that didn’t preserve the field data.
Recommend downloading first, opening in Acrobat Reader, and using Save As with a distinct filename. Then have the buyer close and reopen that exact file. This separates a saving problem from accidentally opening the wrong copy.
Build a Workbook Buyers Can Finish
A useful fillable PDF workbook pairs clear exercises with reliable saving. Consistent field names, comfortable answer spaces, and tested navigation make the design easier to use.
Start with a focused workbook and test it as a buyer would. The finished product should let people concentrate on their answers, without struggling to enter them or worrying about losing their work.
Share On Pinterest!
Want to come back to this later? Save one of these pins to your Pinterest board.